When we built our home a little over two years ago we knew there were things we would be upgrading and customizing ourselves over time. We initially added some custom trim walls and shiplap in some of the main living areas. Now that we’ve been in the home a while we are starting to check additional projects off of our list. The downstairs powder bath has been on my radar for a while. For my birthday this year I told my husband I wanted all of the supplies to finish the project. We went shopping for all of the needed items including the pretty things like lighting and a mirror.
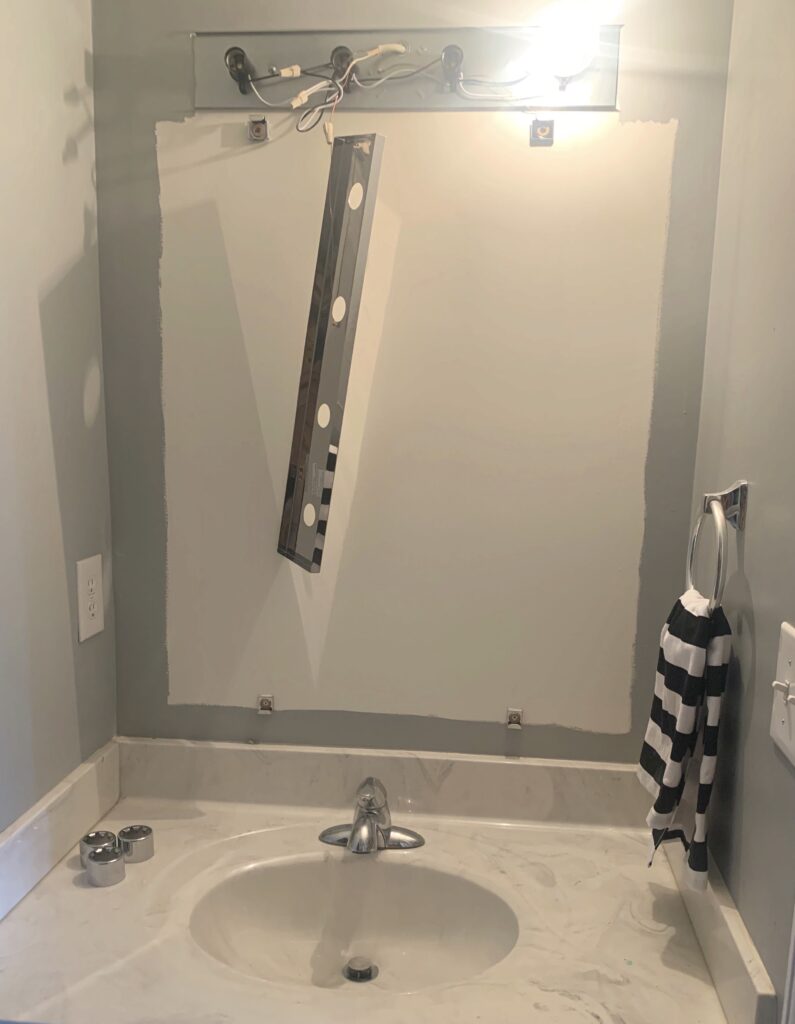
My husband and I were originally planning to tackle this project together but, his work schedule has been full. I decided to start on the project and a friend came to help me the first day. We worked most of the afternoon and finished up this mirror wall. We installed DIY shiplap, a new light fixture, and hung a new mirror.
For the DIY shiplap I used a material called luan. It’s often used as a flooring underlayment but, works perfectly for shiplap. It’s sold in a large sheet but, I asked Lowe’s to rip the sheet into six inch width strips. Your hardware store will often do this for a small charge. It’s very helpful because when you’re ready to hang it you will only need to cut the appropriate length. When you hang it you just stack it one piece at a time, nailing it in and also adding glue to the back of each piece. Use nickels to space between each piece you hang, this is what gives you the look of shiplap.
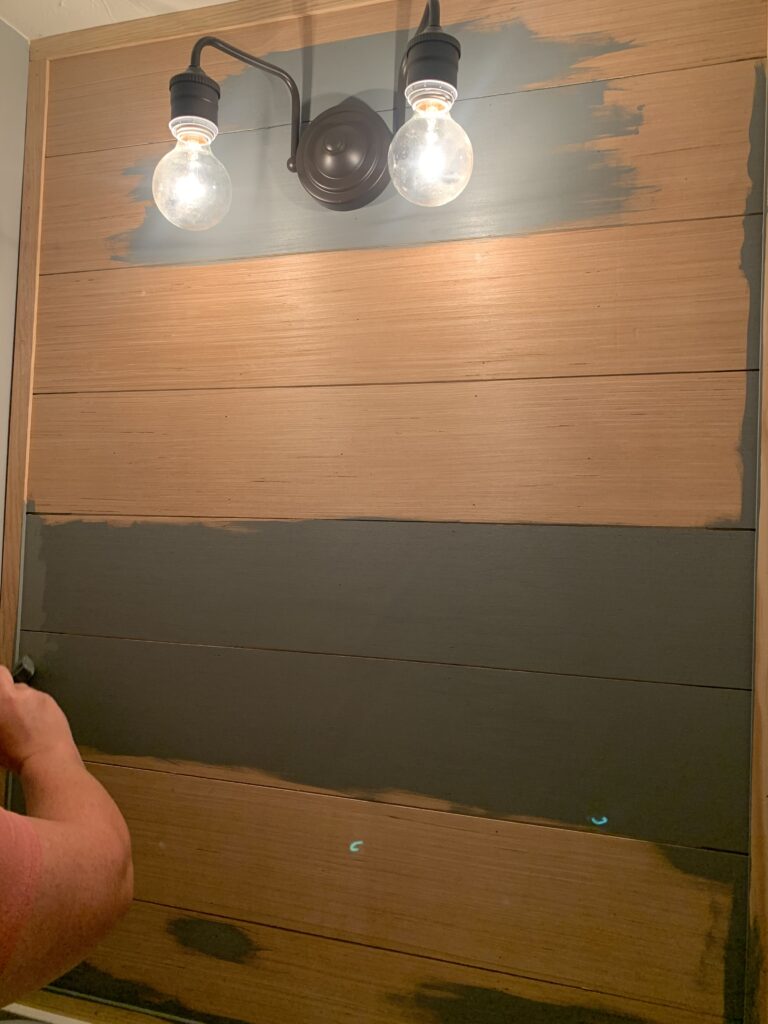
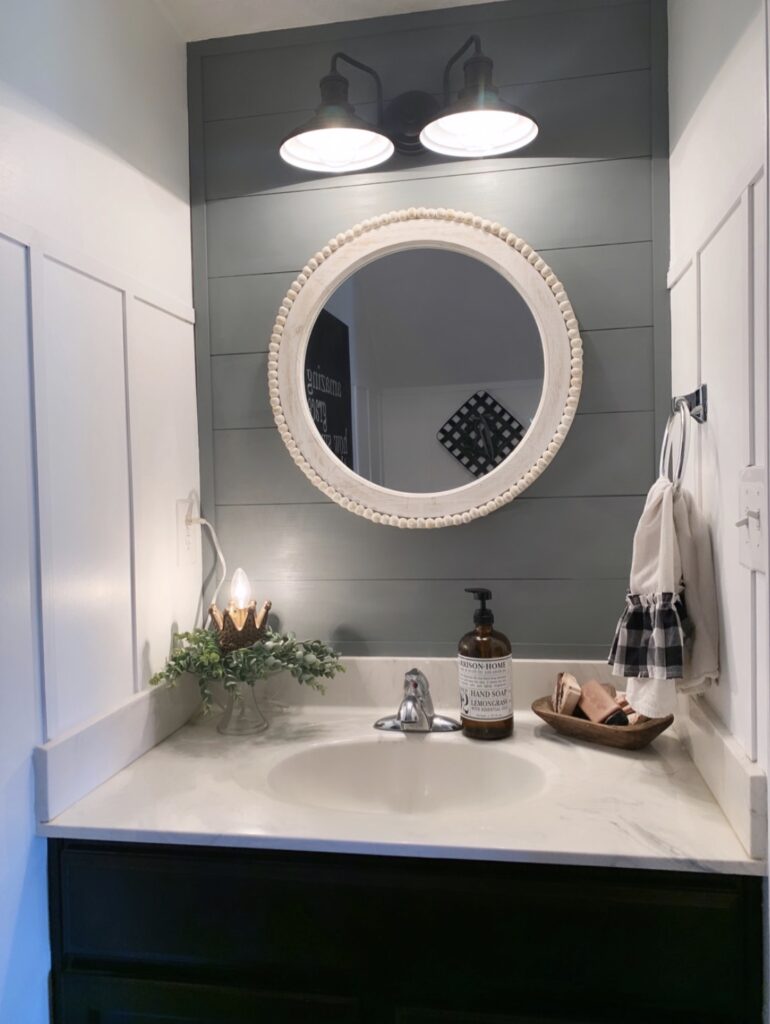
Next, I wanted to add a skinny board and batten wall treatment to the rest of the walls and paint them bright white to contrast the new dark shiplap wall. My husband was working so my dad came over to show me how to use the saw and get me started but, guess what?! You guys, I totally did the rest of the project by myself and couldn’t be more thrilled with the result. This is definitely a doable project, even for a beginner like myself. I always dream up the ideas and design but, this time I actually completed the project too!
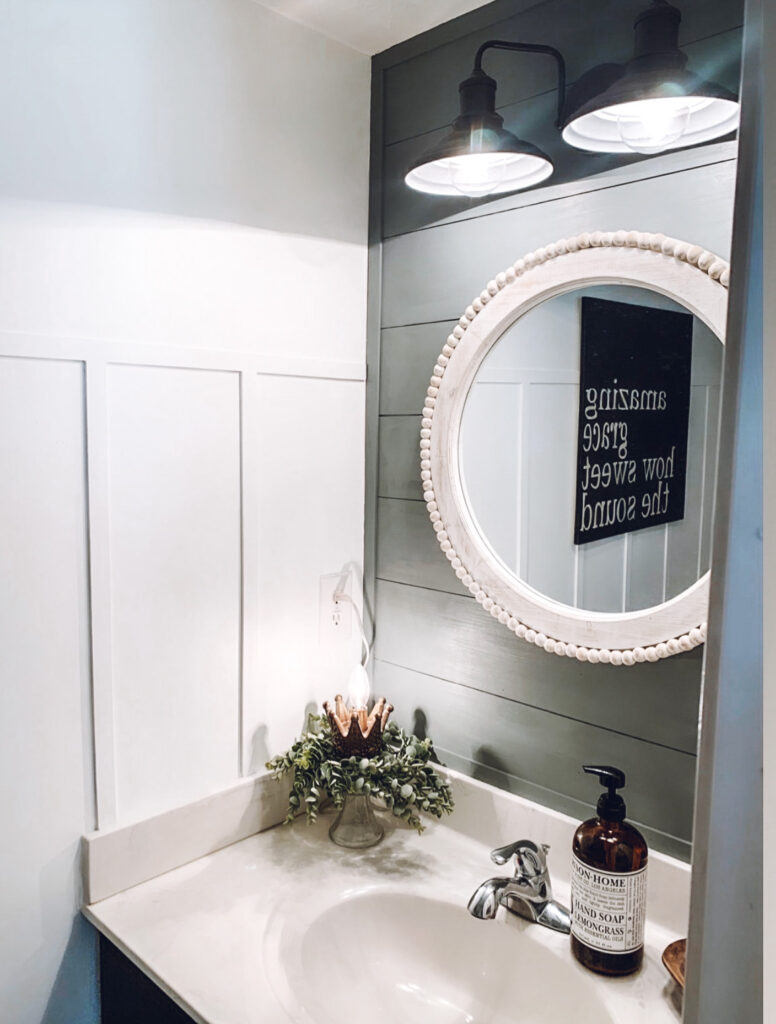
For the skinny board and batten wall I used very thin pieces of pine trim. It was about $3 per piece so a very cost effective option. I love the idea of the thin pieces too because it doesn’t hang way over our existing trim.
To start the project I first decided the height I wanted my top trim to be. Then I cut and hung those pieces. Next, I decided how far apart I wanted each vertical piece of trim to be. I used a pencil to mark where each piece would hang and spent time making sure I liked the placement before installation. Next I measured, cut, and hung each piece individually. It’s frustrating but, I’ve definitely found that even in a new home things aren’t always perfectly square/even so measuring each piece is key.
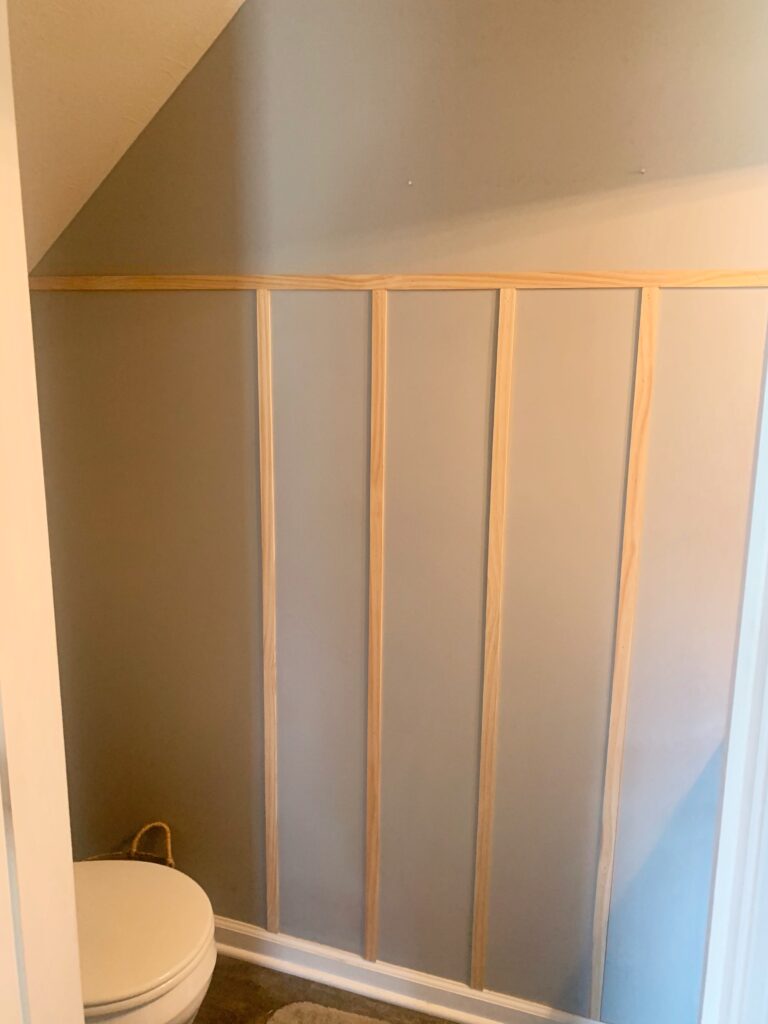
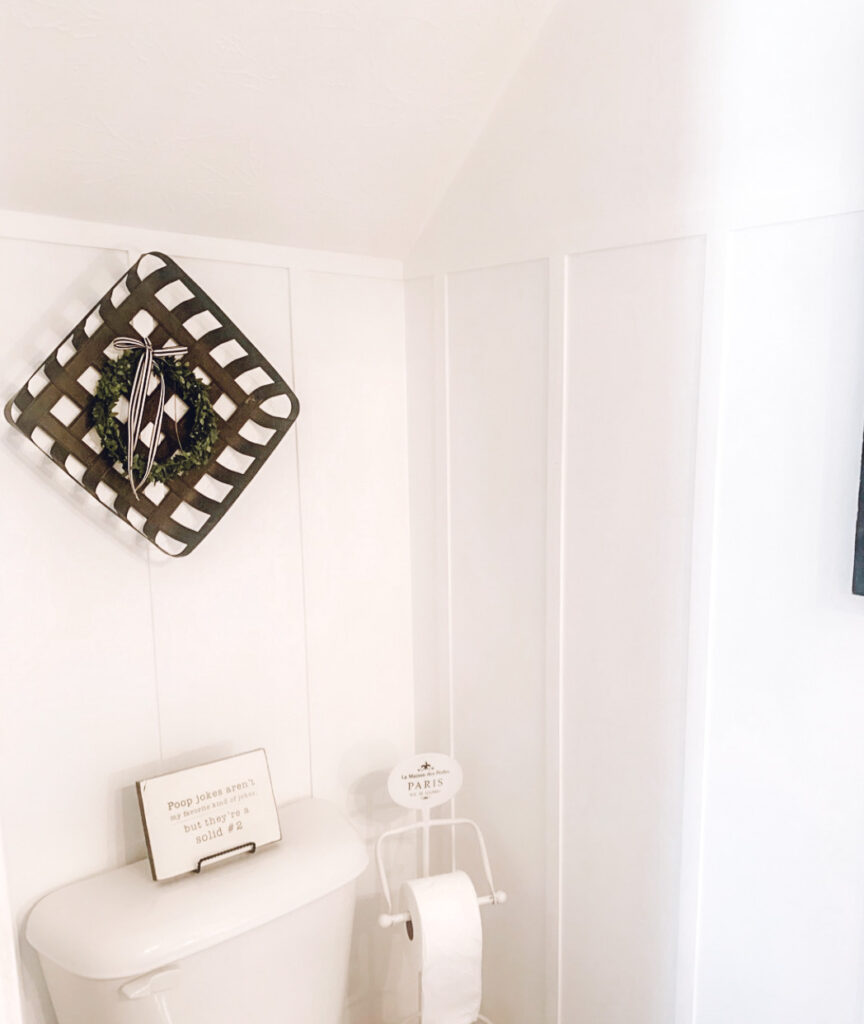
The final step is filling your nail holes and painting your walls and trim. Honestly, this was the most time consuming part of the project. I was painting over gray so it took multiple coats to cover but, I love the end result.
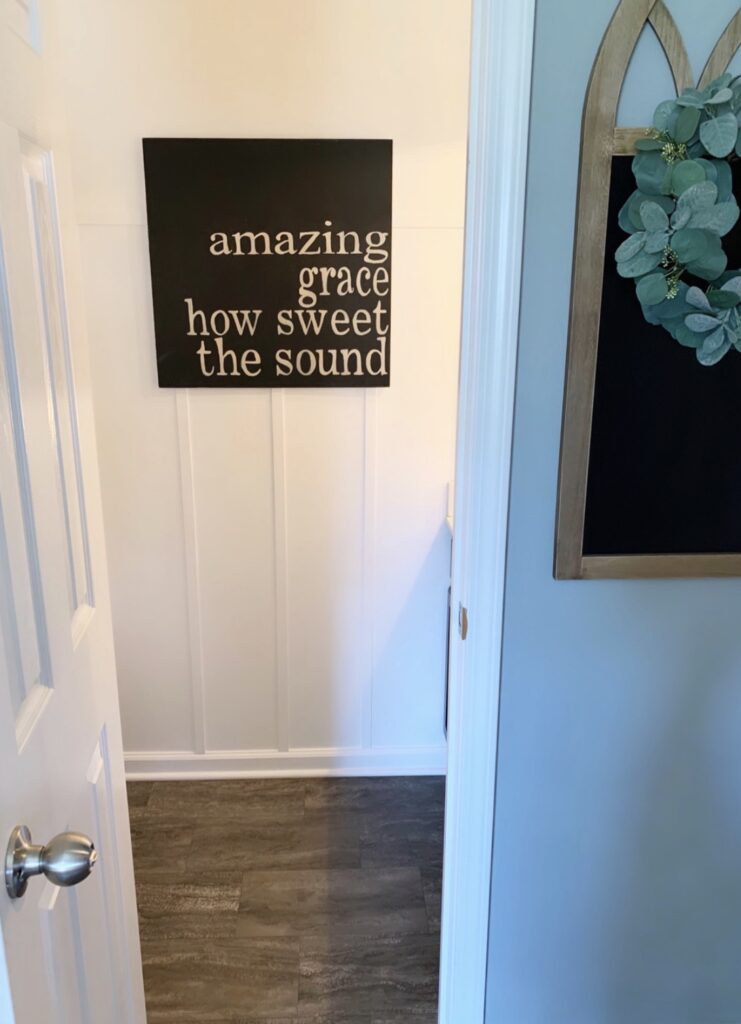
The only thing left to do is find a new rug and install the new cabinet hardware. Although, I’ll admit that I’d also love to change out the silver faucets and hardware but, that’s a project for a future date.
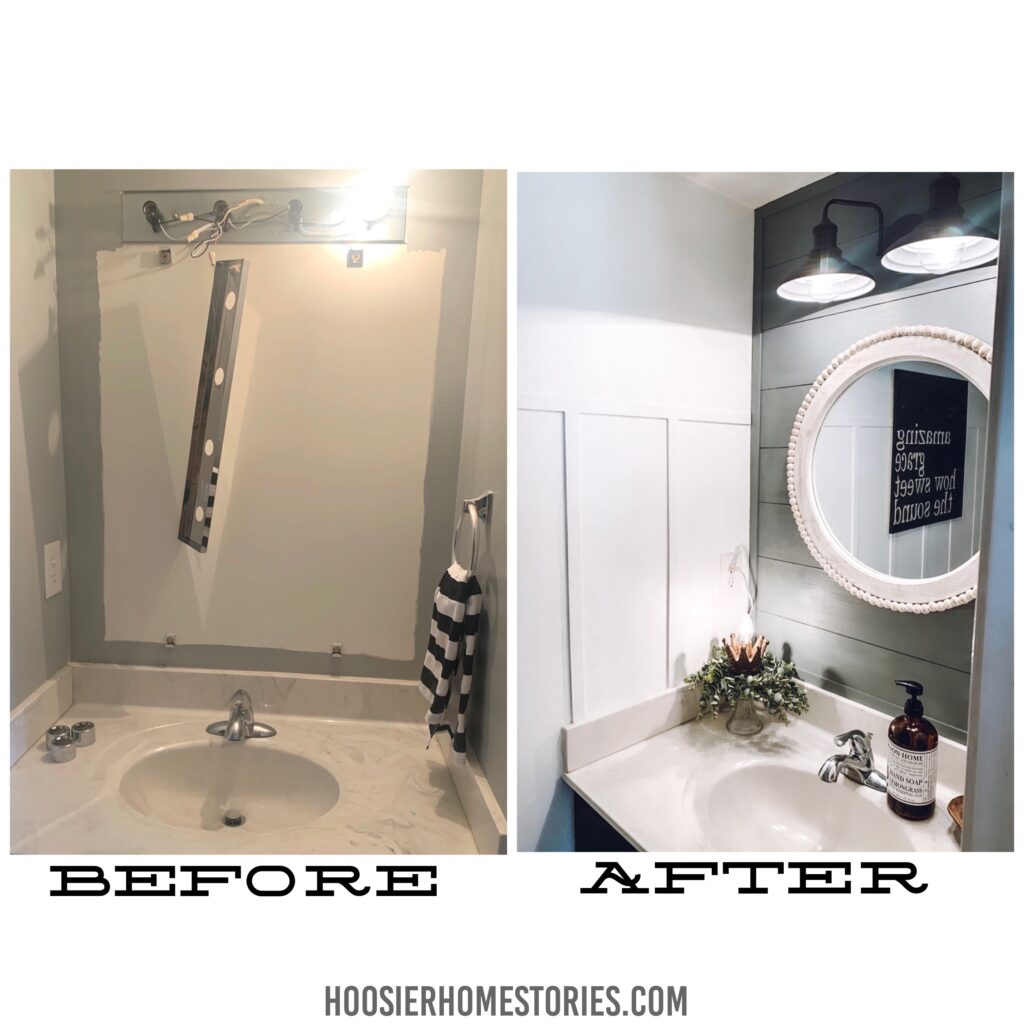
If you’ve ever thought about trying a project like this, I’d encourage you to give it a try. It makes a huge impact for a small price tag and who doesn’t love that?! Now that I’ve got the skills and knowledge to do this myself, I see more projects in my near future!
I hope you all have a wonderful day!
~Jamie
